Android

SGS5

I have purchased a new T-Mobile SGS5. So far, I’m impressed with the T-Mobile network – 4G-LTE delivers. Not like that Sprint network which is super slow. I use Ting, so I can have both my phones (Sprint SGS4 and T-Mobile SGS5) on one account. It also affords the ability to test both networks at the same time.

Sprint.

Sprint.

T-Mobile.

T-Mobile.

SGS4

I finally took the plunge and updated my SGS4 to Lollipop (Android 5) official OTA. I skipped right past Kit Kat (Android 4.4) which I thought was the latest official for the SGS4. It’s pretty, but there are features missing that I like. Namely: lock screen shortcuts and lock screen widgets.

A warning to Titanium Backup users: If you allow TB to backup EmergencyManagerService, the system will crash when TB pauses/kills the service (depending on the settings – default is to pause), so if you want the device to not crash every time TB runs a backup, you might want to add EmergencyManagerService to an inverted filter so it gets skipped.

This applies mostly to Android 5.1.1 (codename Lollipop), but also works with Android 5.0.1 (also Lollipop).

Edit (note): If you have a GSM account (T-Mobile, AT&T), you have to do step 5 every time you restart the phone – the SIM card data overrides the user data.

Speed dial #1 is reserved for your carrier’s voicemail number, but if you use Google Voice, you can change it easily. You have to:

1. Install the Google Voice app. Open it and setup your account.
2. Open your stock phone app.
3. Click menu-»Settings-»Call, scroll down to the Voicemail section.
4. Click “Service Provider” and choose Google Voice.
5. Click “Voicemail settings” and click your voicemail number.
6. Enjoy.

image

image

image

image

image

LG G4 > SGS5

LG G4

My Samsung Galaxy S5 is a piece of shit (at least the one I have is)–it’s the worst phone I’ve ever had and I had a Palm Pre–and Samsung’s heavily modified version of a perfectly functional Android OS called TouchWiz with proprietary hardware that only works with said, has gotten to the point of hindrance, so I bought an LG G4. It’s vastly superior and cost half as much. The power and volume buttons being on the back will take some getting used to, but at least it doesn’t freeze up requiring a hard-boot whenever I use the Browser and/or Maps. I haven’t rooted it, yet. It seems to be more difficult than the Samsungs are and I don’t want to brick it.

LG G4 (www.lg.com)

T-Mobile Samsung Phones are Slow

I’m pretty sure I figured out why my SGS5 runs like a turtle high on weed. I found a process called “com.samsung.authentication.gba” running in the background. I have yet to figure out what it does. Since my phone is rooted, I fired up Titanium Backup and froze the “app” which has no name other than the process name and rebooted. Currently, my phone is running like a rabbit on crack; however, I have been fooled by the placebo effect before, so we’ll see how it’s doing after a while.

Creative use of ADBInstall an app onto one device (B) from another device (A) using your computer.

  • Rooted Android Devices:
    • Enable ADB over wifi.
  • Windows PC:
    • Go to Android SDK folder
    • Connect to device A (adb connect [ip address]:[port]).
    • Access the shell and “su” to root (adb -s [ip address]:[port] shell).
  • Device A (still using Windows’ command prompt):
    • Connect to device B (adb connect [ip address]:[port]).
    • Install app to device B (adb -s [ip address]:[port] install /data/app/[app’s file name]).
  • Device B:
    • Check applications for your newly installed app.
    • Enjoy running your newly installed app.
C:\android-sdk\platform-tools>adb connect 192.168.1.6:5555
connected to 192.168.1.7:5555
C:\android-sdk\platform-tools>adb -s 192.168.1.6:5555 shell
shell@android:/ $ su
su
root@android:/ # adb connect 192.168.1.7:5555
connected to 192.168.1.7:5555
root@android:/ # adb -s 192.168.1.7:5555 install /data/app/com.electricsheep.asi-1.apk
405 KB/s (478636 bytes in 1.151s)
        pkg: /data/local/tmp/com.electricsheep.asi-1.apk
Success
root@android:/ #

Disclaimer: I am not responsible for you doing things wrong and breaking your phone or losing your data.

  1. Make a folder somewhere under /data1.

    Click the "+".

    Click the “+”.

    Click "Folder".

    Click “Folder”.

    Type a folder name and click "OK".

    Type a folder name and click “OK”.

  2. Move desired APK from /data/app or /system/app2 (only if you want to move a system app’s APK while preserving its “system app” status) to the folder you just made in step 1.

    Long click file and click "Move".

    Long click the file and click “Move”.

    Click "Move here".

    Click “Move here”.

  3. Make a symlink of the newly moved APK in /system/app.

    Long click the file and click "Link to this file".

    Long click the file and click “Link to this file”.

    Click "Create link".

    Click “Create link”.

  4. Repeat from step 1 for each desired app3.
  5. Clear dalvik cache or just delete the dalvik cache file for the selected app(s).
  6. Reboot.
  7. The app is now a system app in the eyes of Android and is stored on the user data partition. Good for space saving in the system partition and future ROM updates or no-data restores4.
  • I used Root Explorer for the screenshots. You can use any file explorer you want as long as it can make symbolic links. You can even use the command line if you know what commands to use.
  • Clearing data will also delete the APK. If this was intended, don’t forget to delete the symlink from /system/app – not required as Android will just ignore invalid APKs and if left there, you won’t need to relink, should you do this again, as long as the file path(s) are the same as they were before.
  • You can make the APK read-only to mimic the system partition (440 – a-rwx,ug=r), but it’s probably not necessary.
  • You can use second-partition apps like Link2SD that premount a user-created second partition on the external SD card.
  • Zipalign will undermine your efforts if the APK needs to be zip aligned – it effectively copies the APK file somewhere and copies it back thus overwriting the symlink with the Zip aligned original APK.

  1. Don’t use the SD card because it’s not available until long after boot up.
  2. Do not move core system apps from /system/app. If you wipe data for whatever reason or the data partition fails to mount, you will lose a vital core app and cause a boot loop and I will not help you fix that.
  3. Some app crashing may occur. I wouldn’t recommend moving the APK of the file explorer you’re using to do this unless you’re using the command line.
  4. The app will not get deleted, but you’ll have to relink the APK after a no-data restore or ROM update.

If you have two or more Android devices and at least one of them is not rooted and you have a stubborn app that doesn’t have any way to backup its data to the sdcard, just use ADB.

Enabling ADB

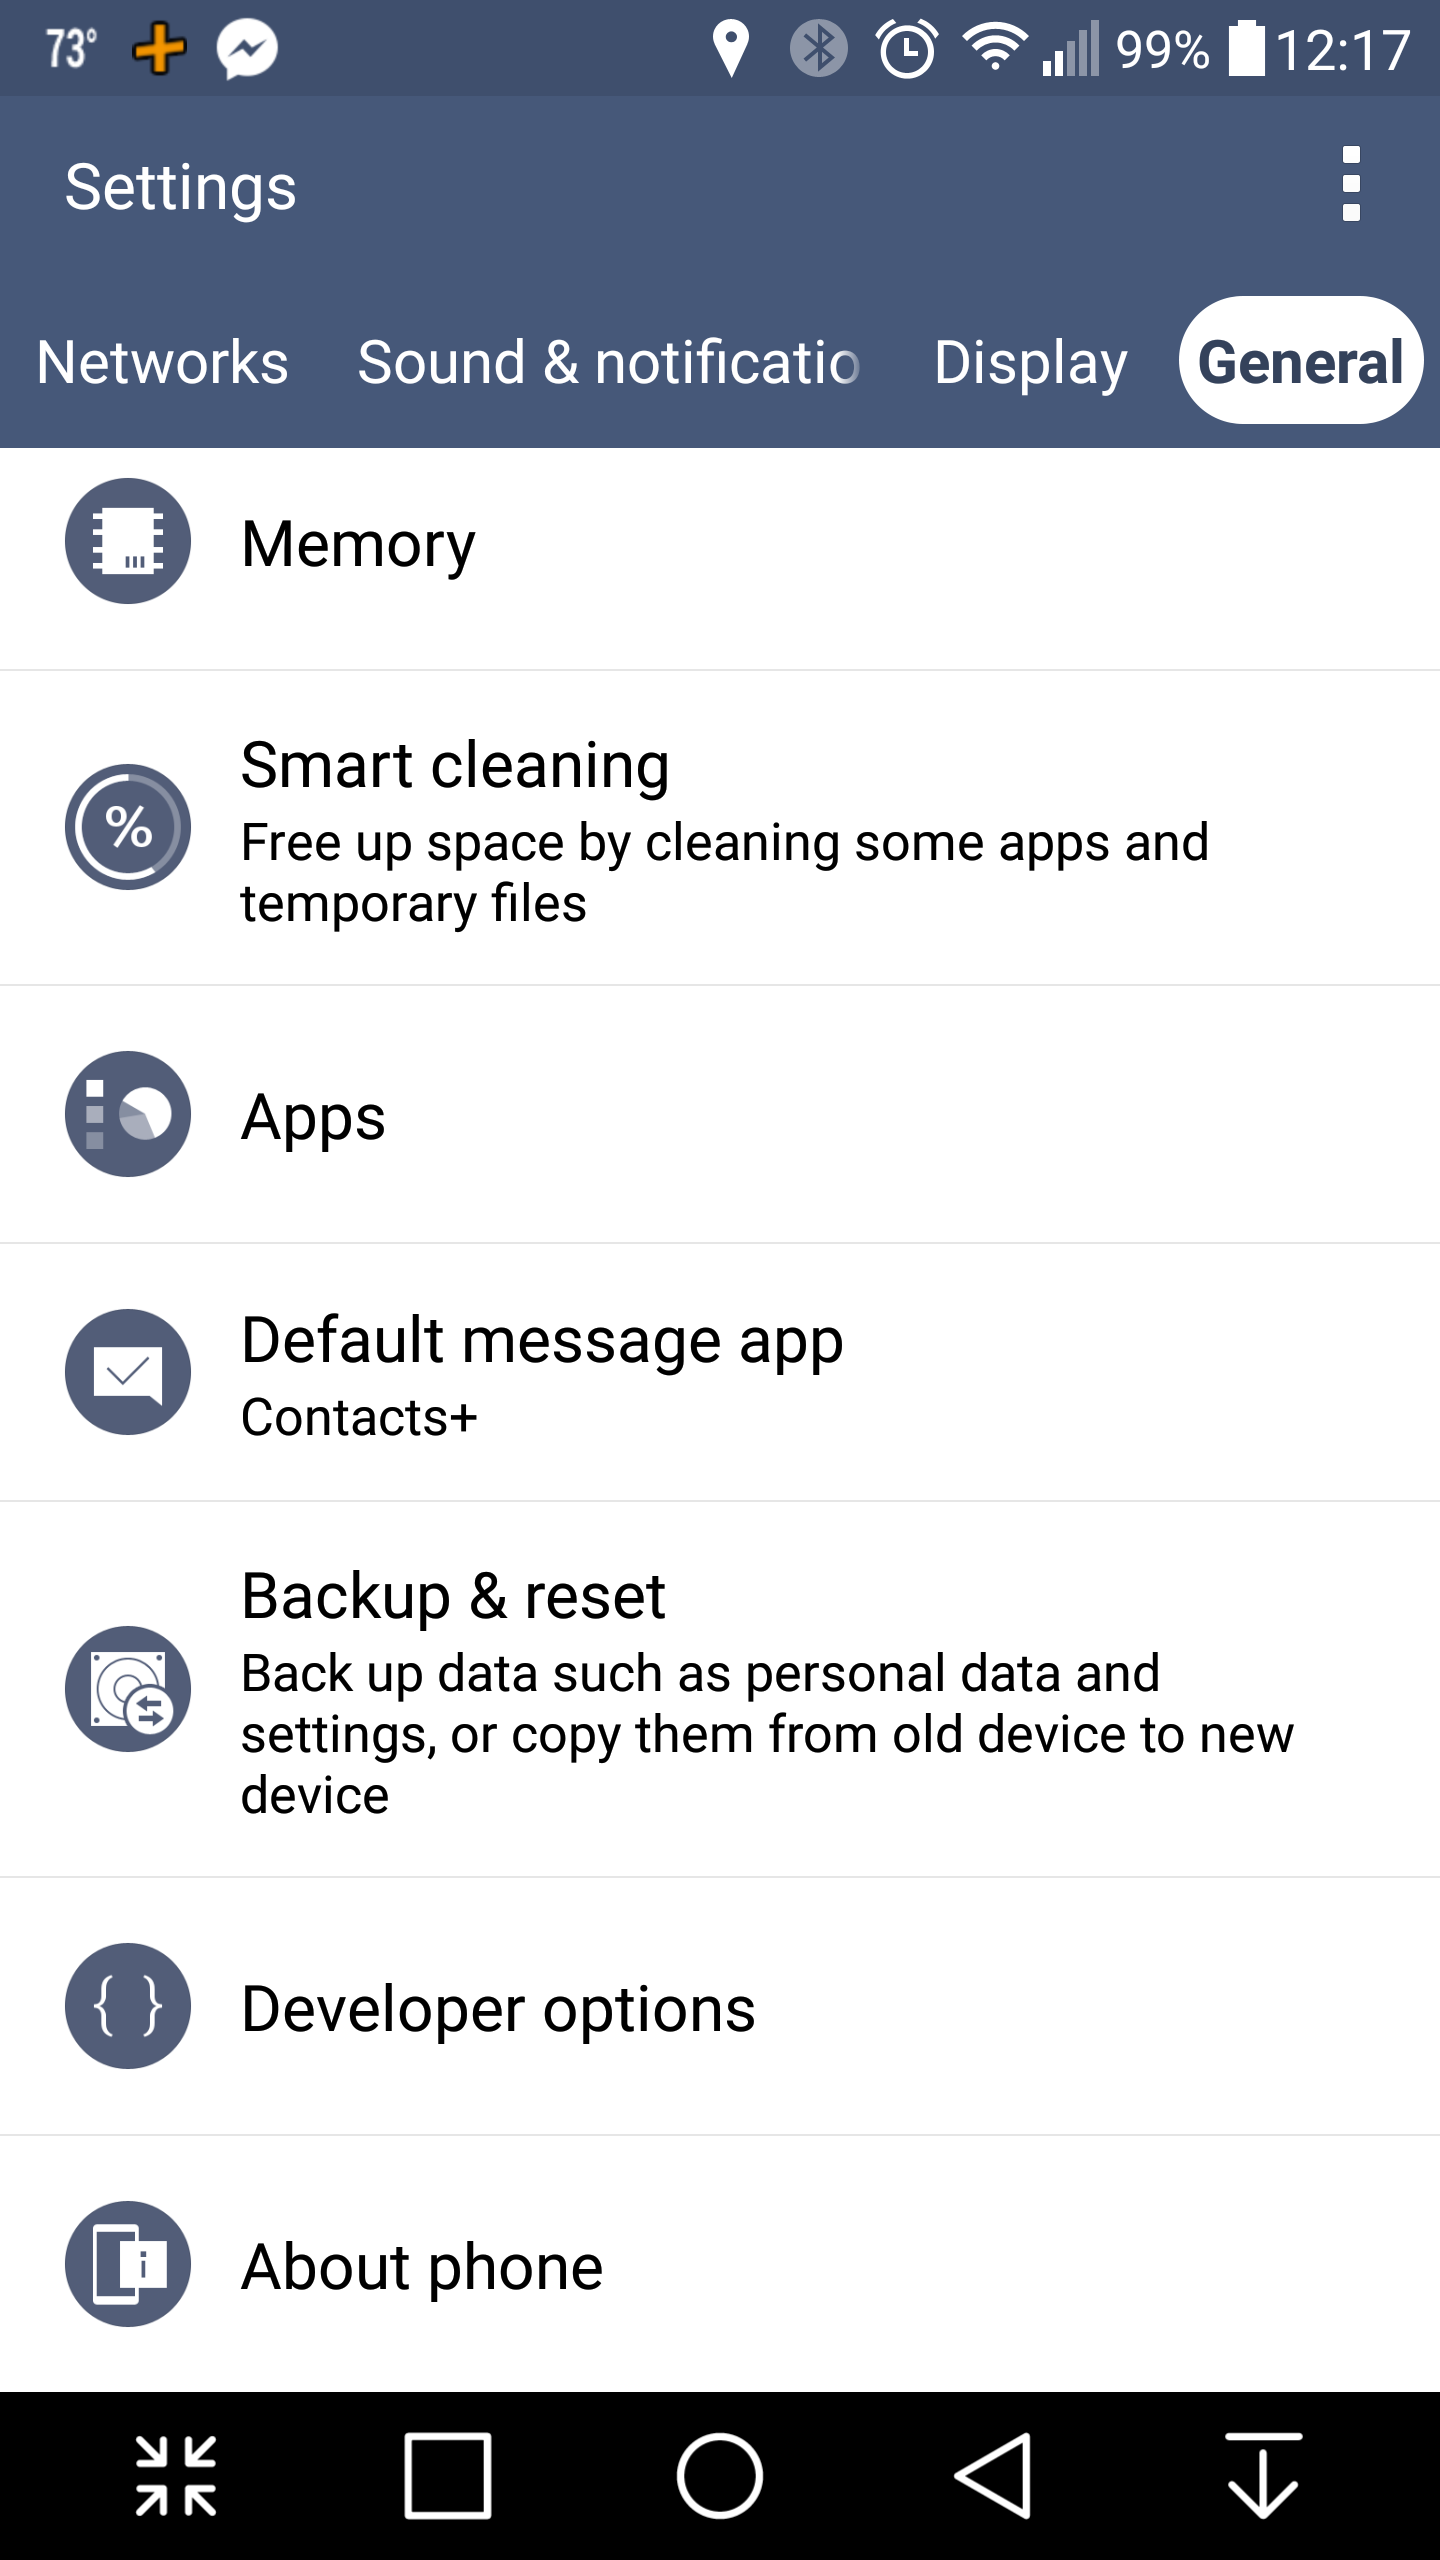
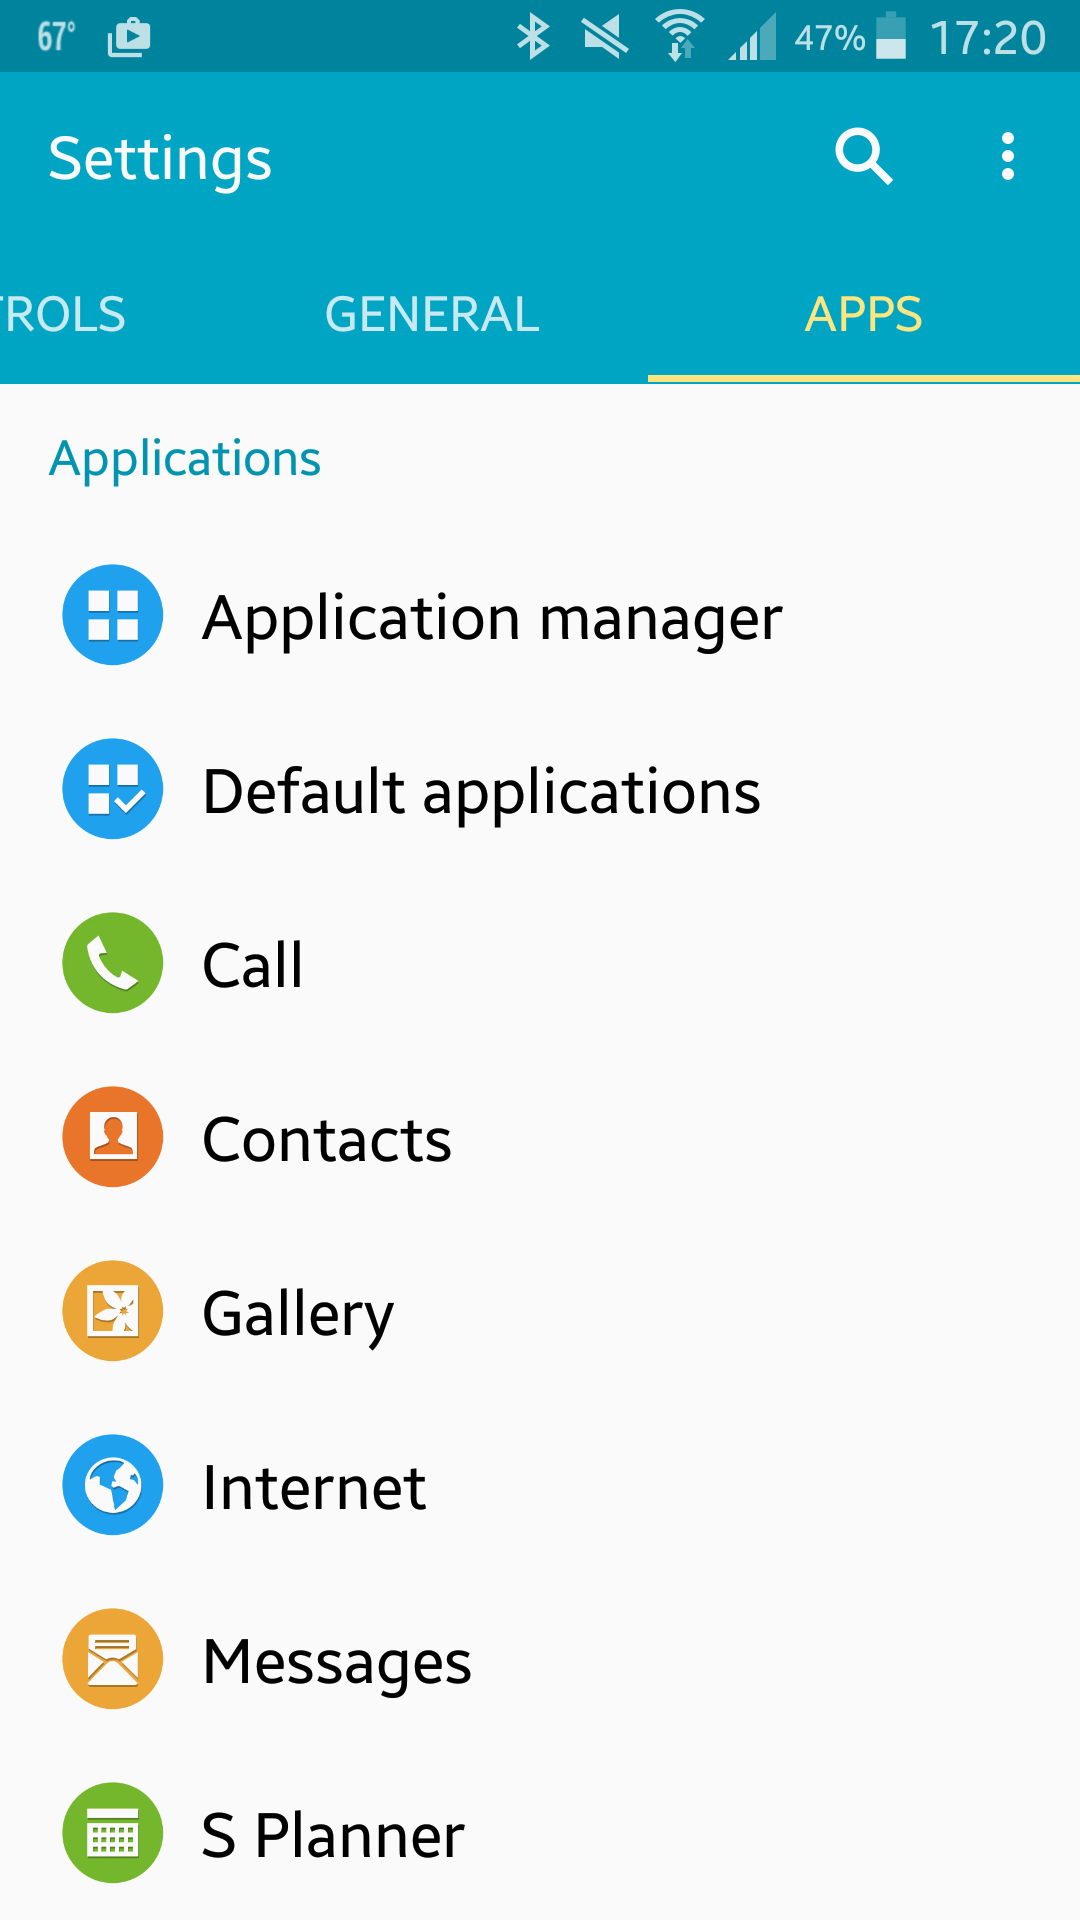
First you have to enable Developer Options which is easy. Just go to Settings and scroll to the bottom of the General tab (or just scroll to the bottom if there are no tabs). If you see Developer Options, great, it’s already enabled. If not click About Device and find the Build Number/Version (it’ll either be right there or in one of the sub-menus) and click it several times until your screen says “you are now a developer”. Now, go back and click Developer Options and check USB Debugging.

Get Android SDK for your computer

There are many places from which you can download it. If, however, you get it straight from Google, it’ll come with a full IDE which you may not want or need.

Backup Your Shit

Plug the source device into the USB of you computer and open a command prompt then type adb devices. Click “Allow” on your device if necessary. The output shows which devices are attached. If it says “online”, you’re good to go. Just type adb backup PACKAGENAME -f PATHTOSAVEBACKUPTO -apk (PACKAGENAME can be acquired from the Play Store URL for that app). Then click “perform backup” or however it’s worded. Finally, unplug the devices when the screen on said device says the backup has finished.

Restore Your Shit

Plug the target device in and repeat the above except type this instead adb restore PATHTOSAVEBACKUPTO and click “perform restore” or whatever it says on the device. When the screen on that device says it’s finished, you’re all set. Enjoy your app with all its settings on your new device.

Social Note for System Apps

If restoring system app data, which I don’t recommend because there may be compatibility issues, omit “-apk” from the adb backup command. You can’t restore system apps, anyway, only their data can be restored.

1. Go to Settings.

2. Go to the General tab it scroll to the bottom.

3. Click Apps*.

4. Scroll to desired app and click it.

5. Click Storage.

6. If the app is movable, Change will be present. Click it.

7. Click SD card.

8. Click Move.

Note: Screenshots are of an LG G4 with Android 6.0 (Marshmallow).

*Apps then Application manager on the SGS5.