Last Updated on Oct 20, 2023
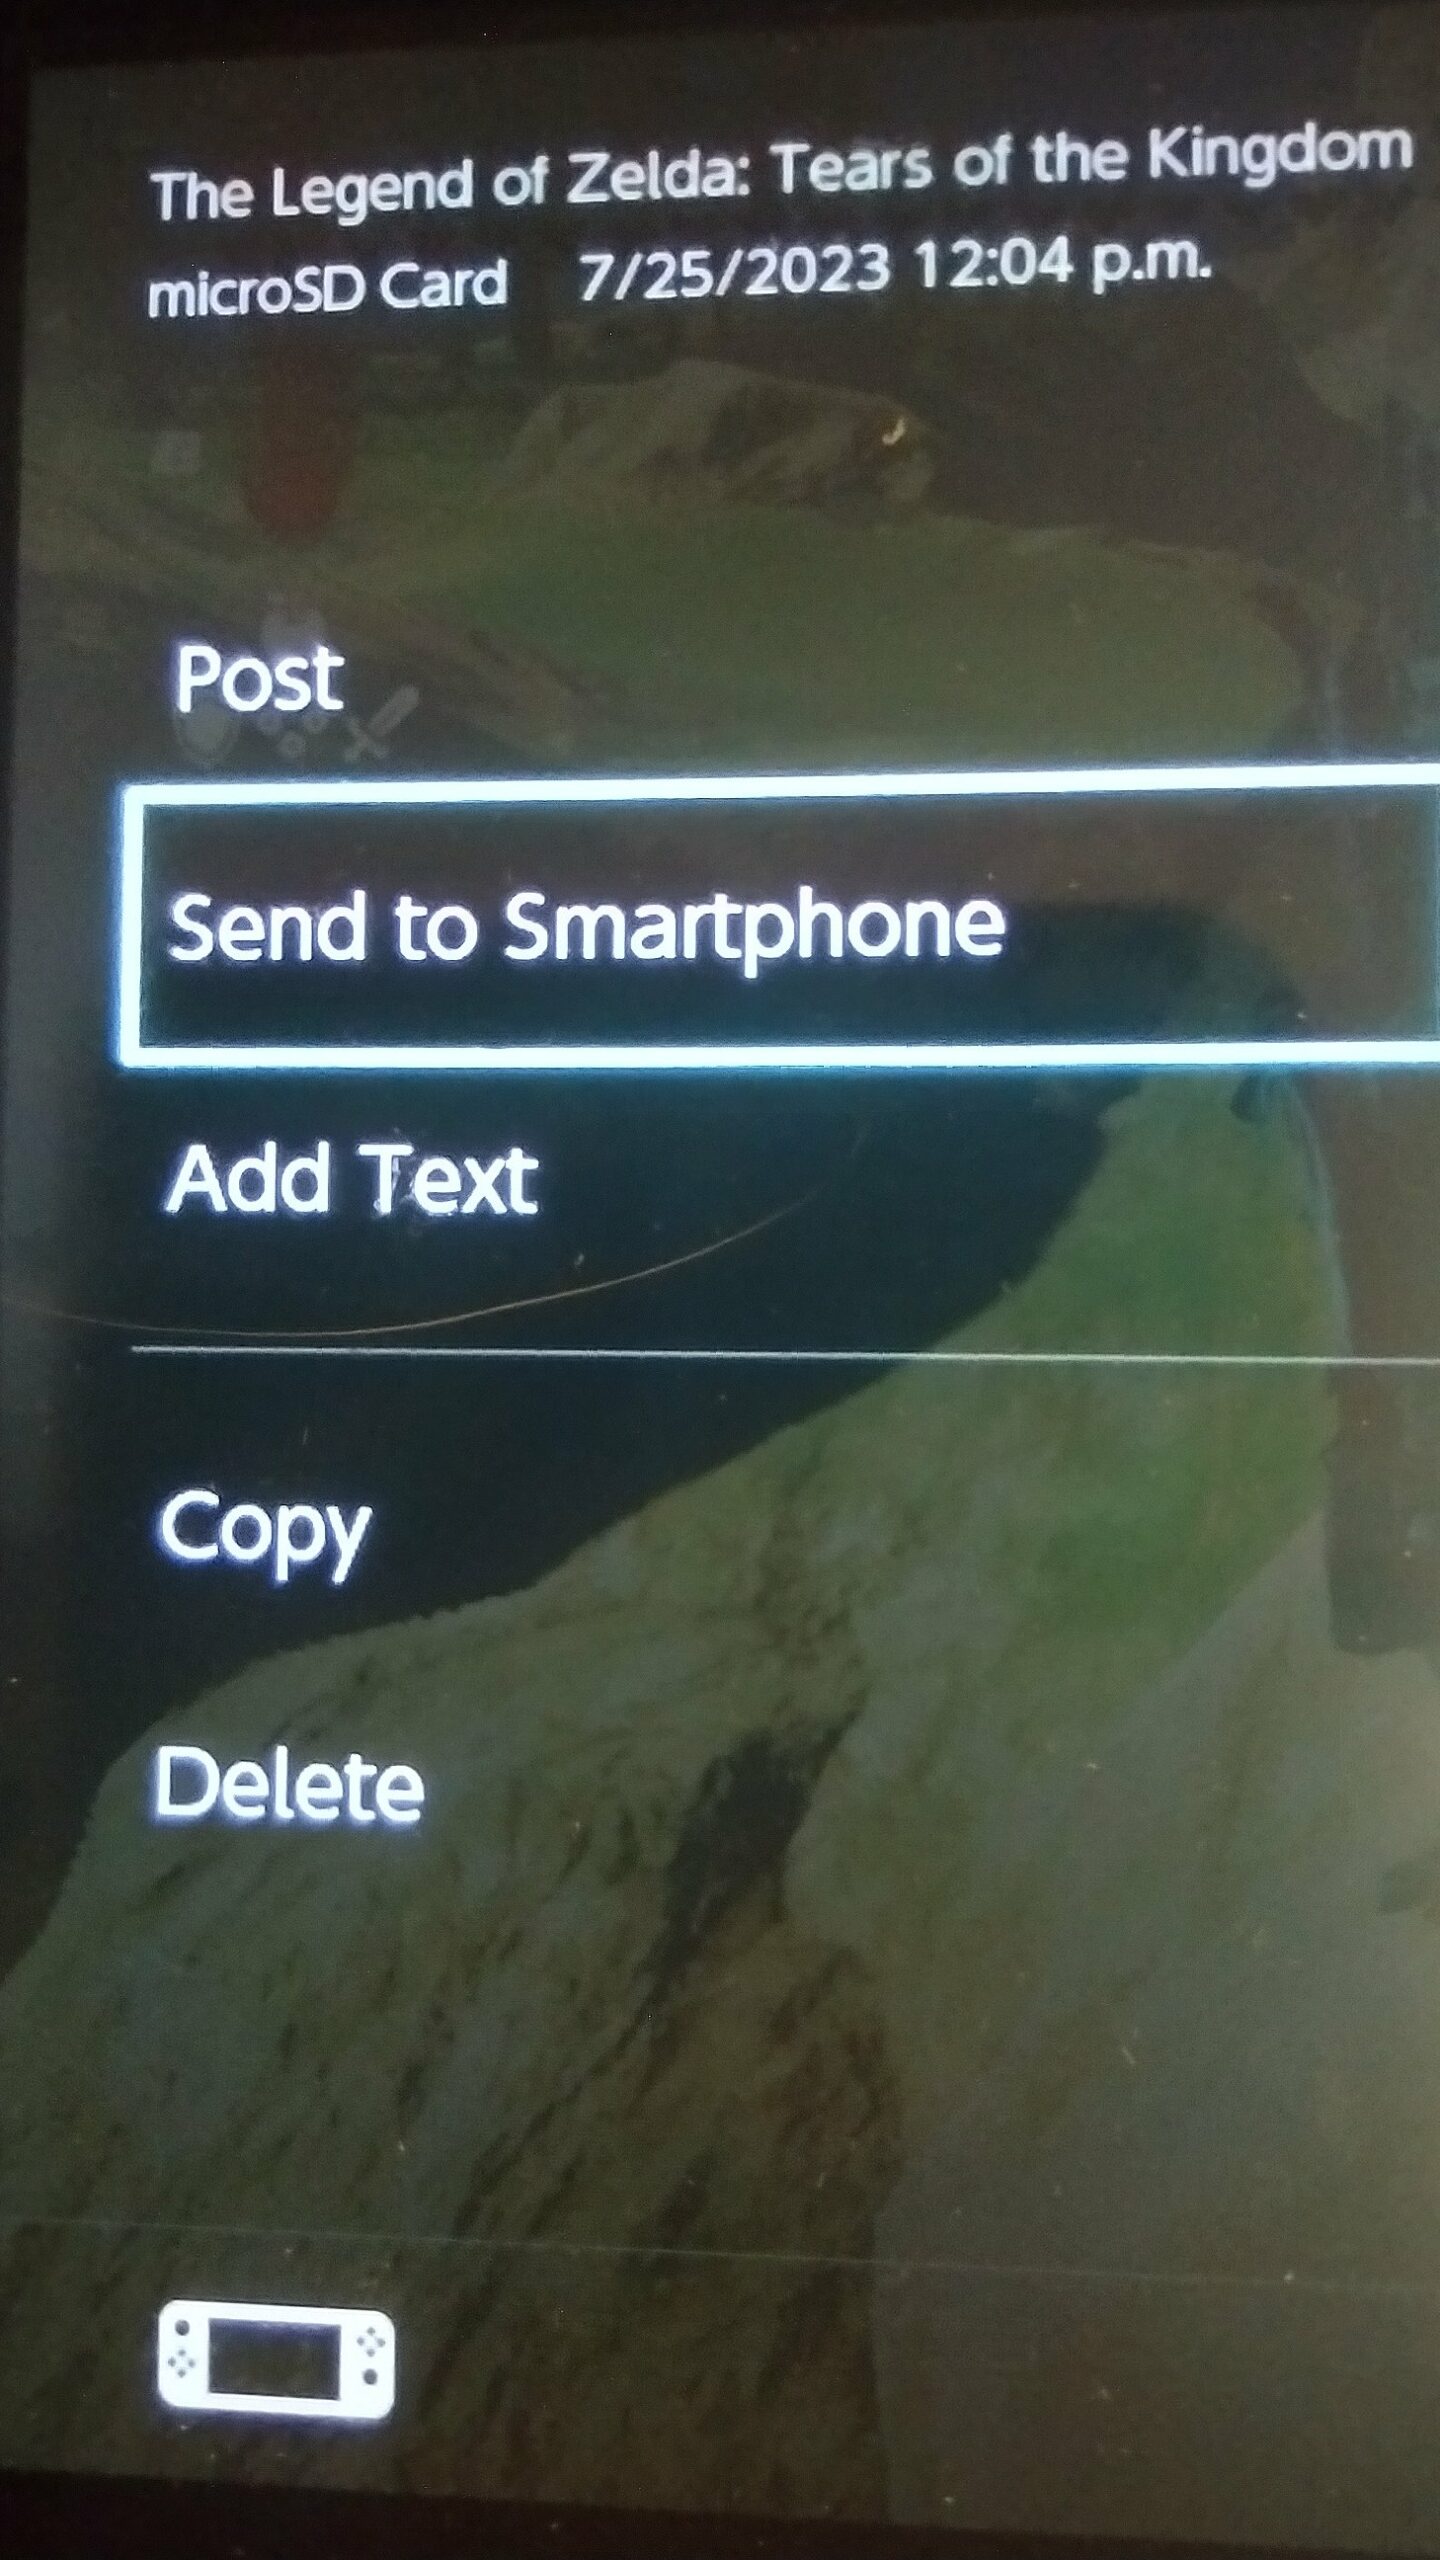
- Go to your album and select the desired screenshot, then press A or touch “Sharing and Editing”.
- From this screen you can either select “Post” and send it/them to Facebook or Twitter and download them from there or select “Send to Smartphone”. For best results, choose the latter.
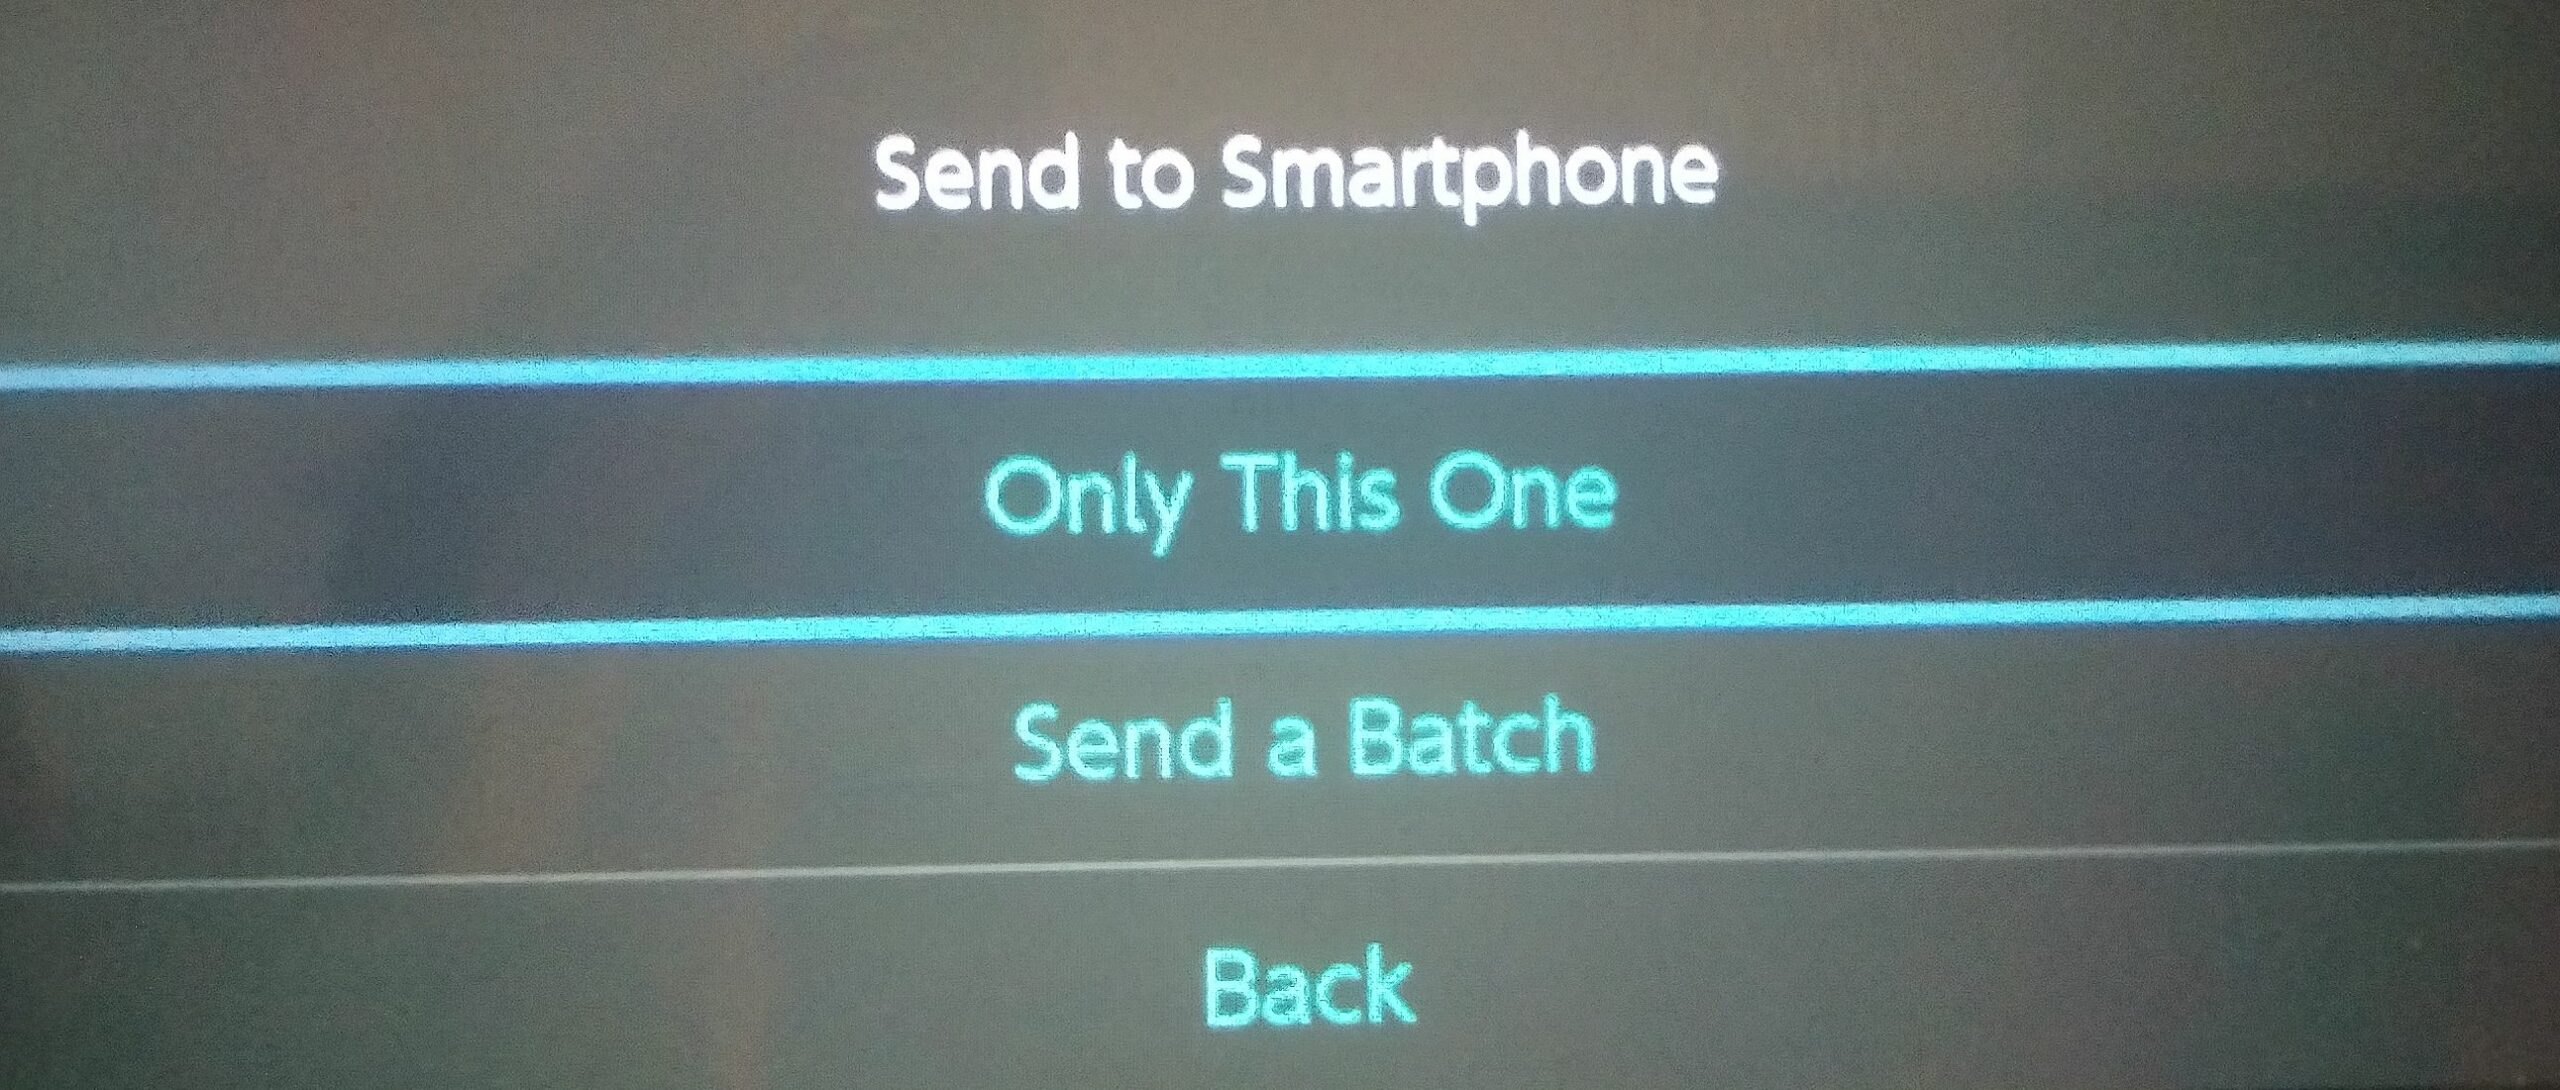
- From the following, you can choose to either send one or more than one (more than one is not an option for videos).
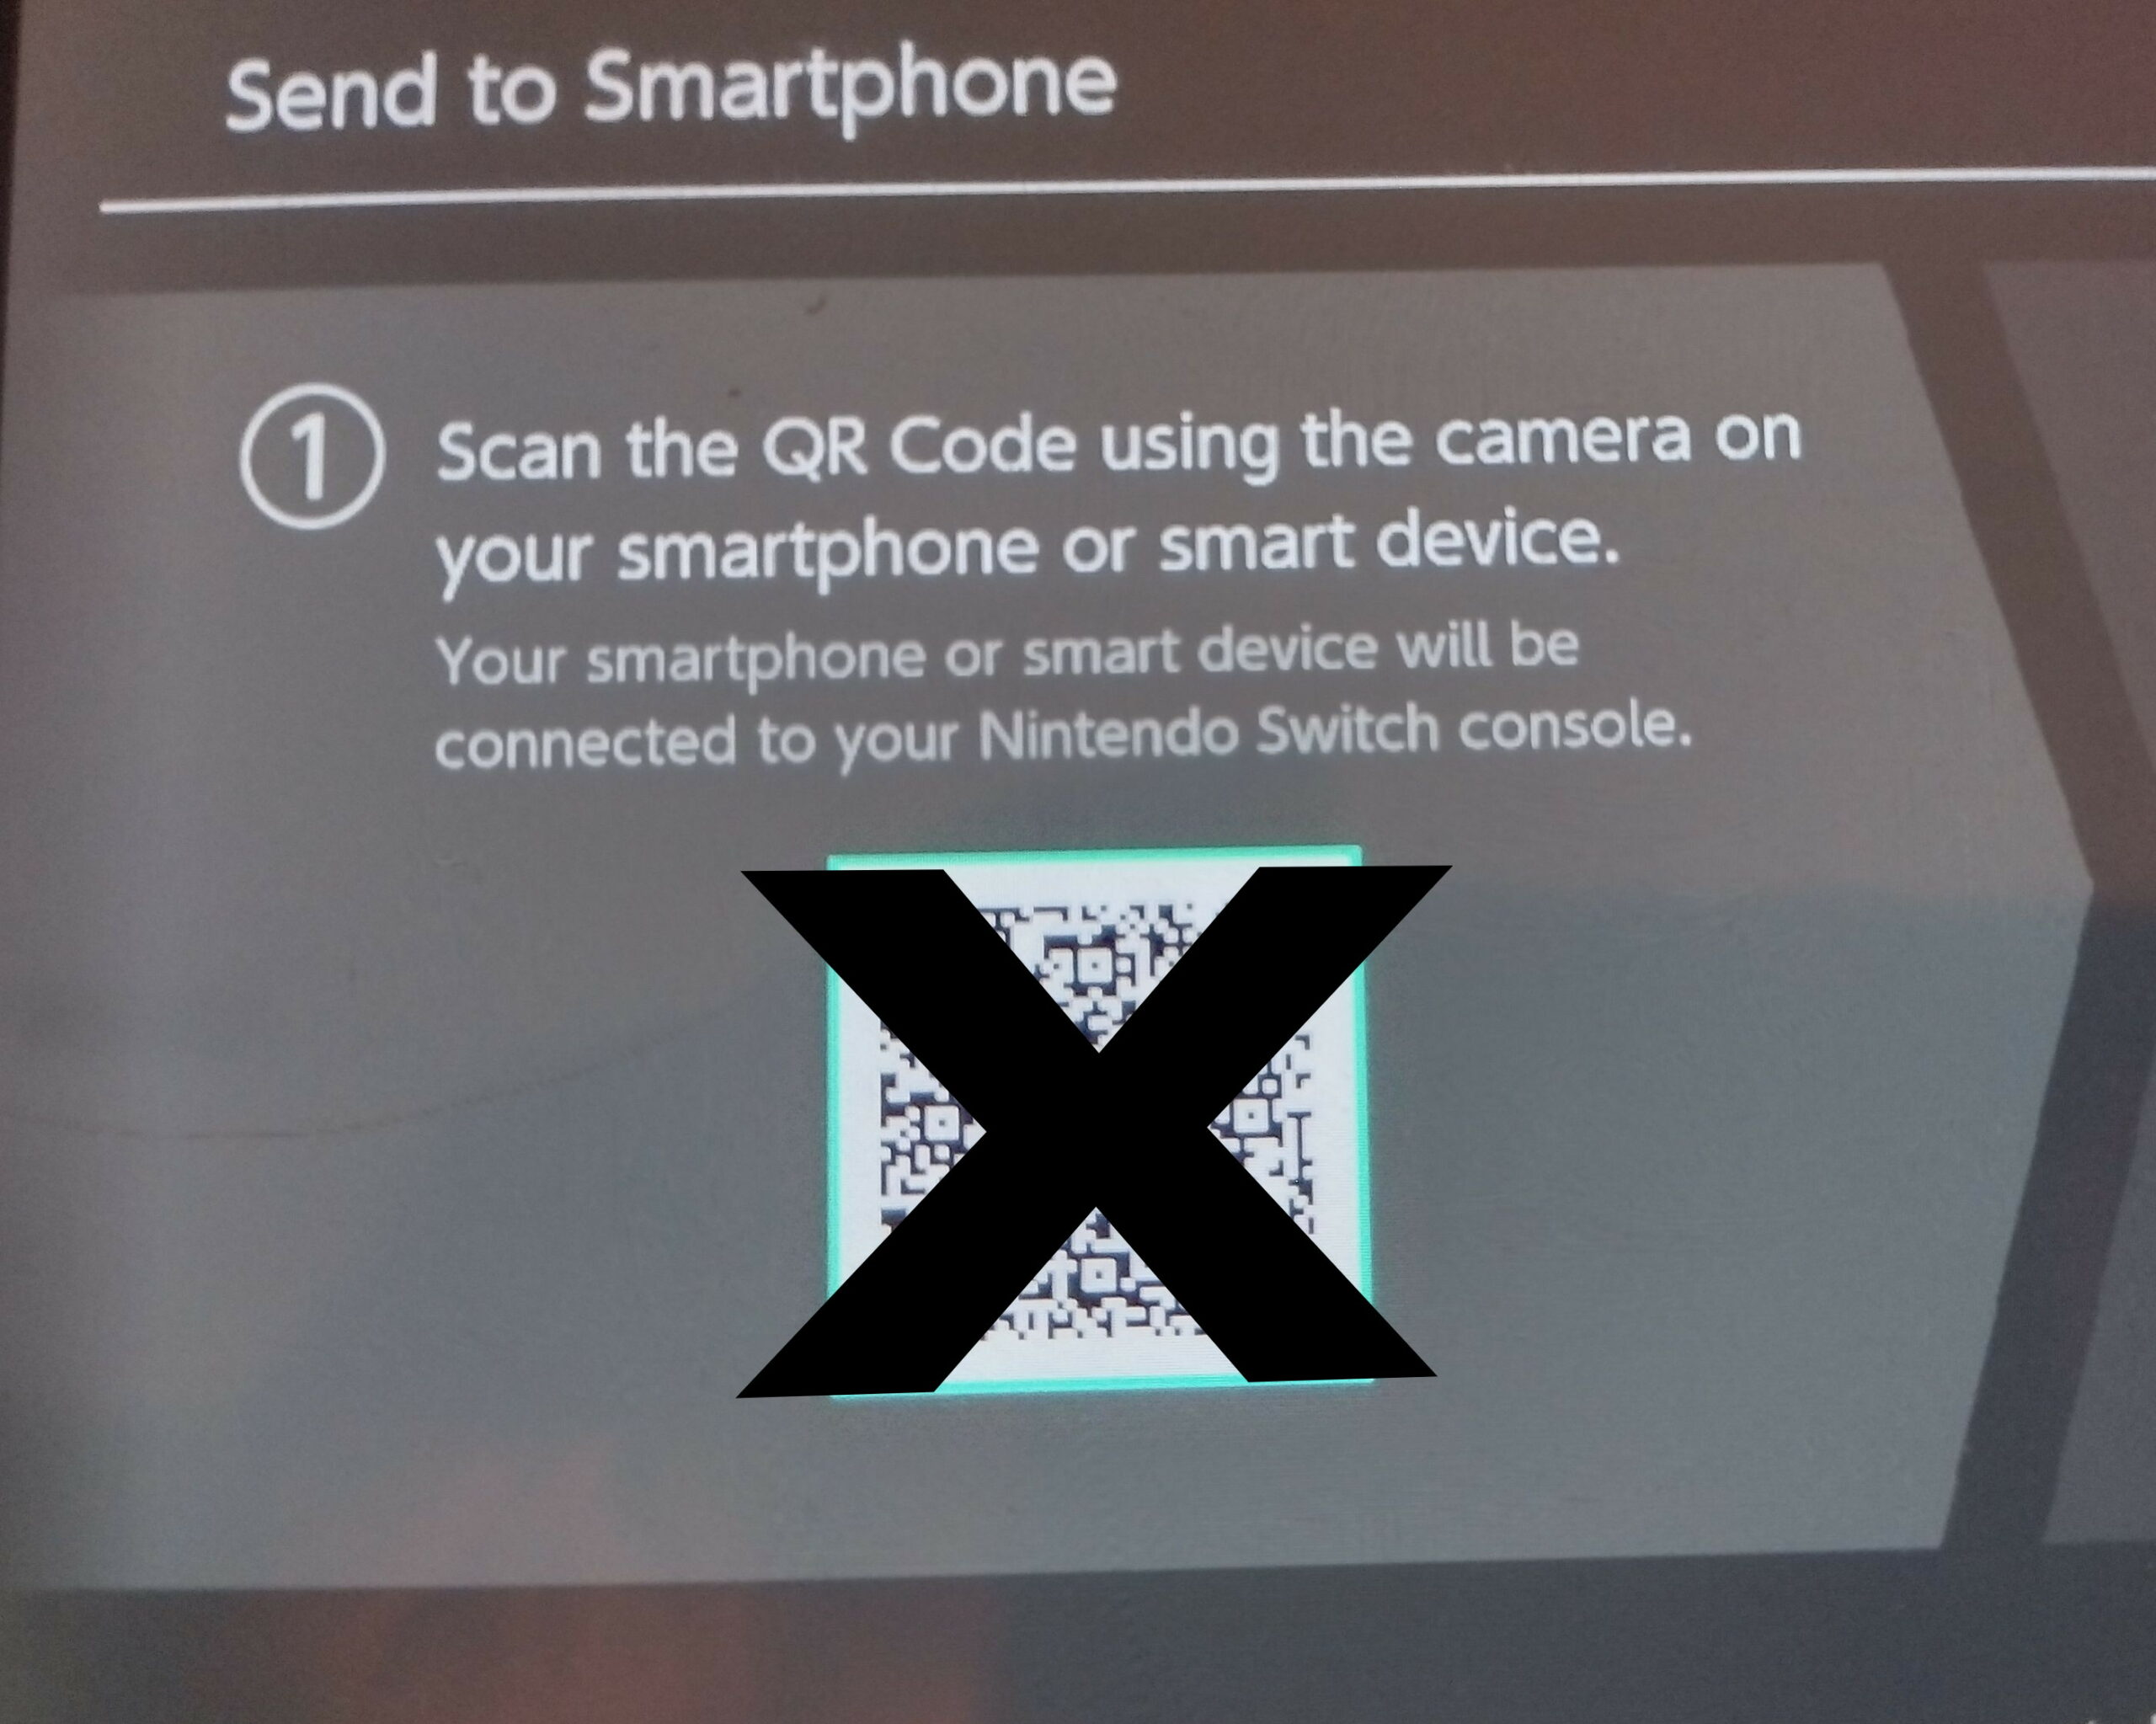
- Either way, the next screen will assist in connecting to the Switch’s ad-hoc Wi-Fi hotspot.
- Scan the QR code and connect to the hotspot.
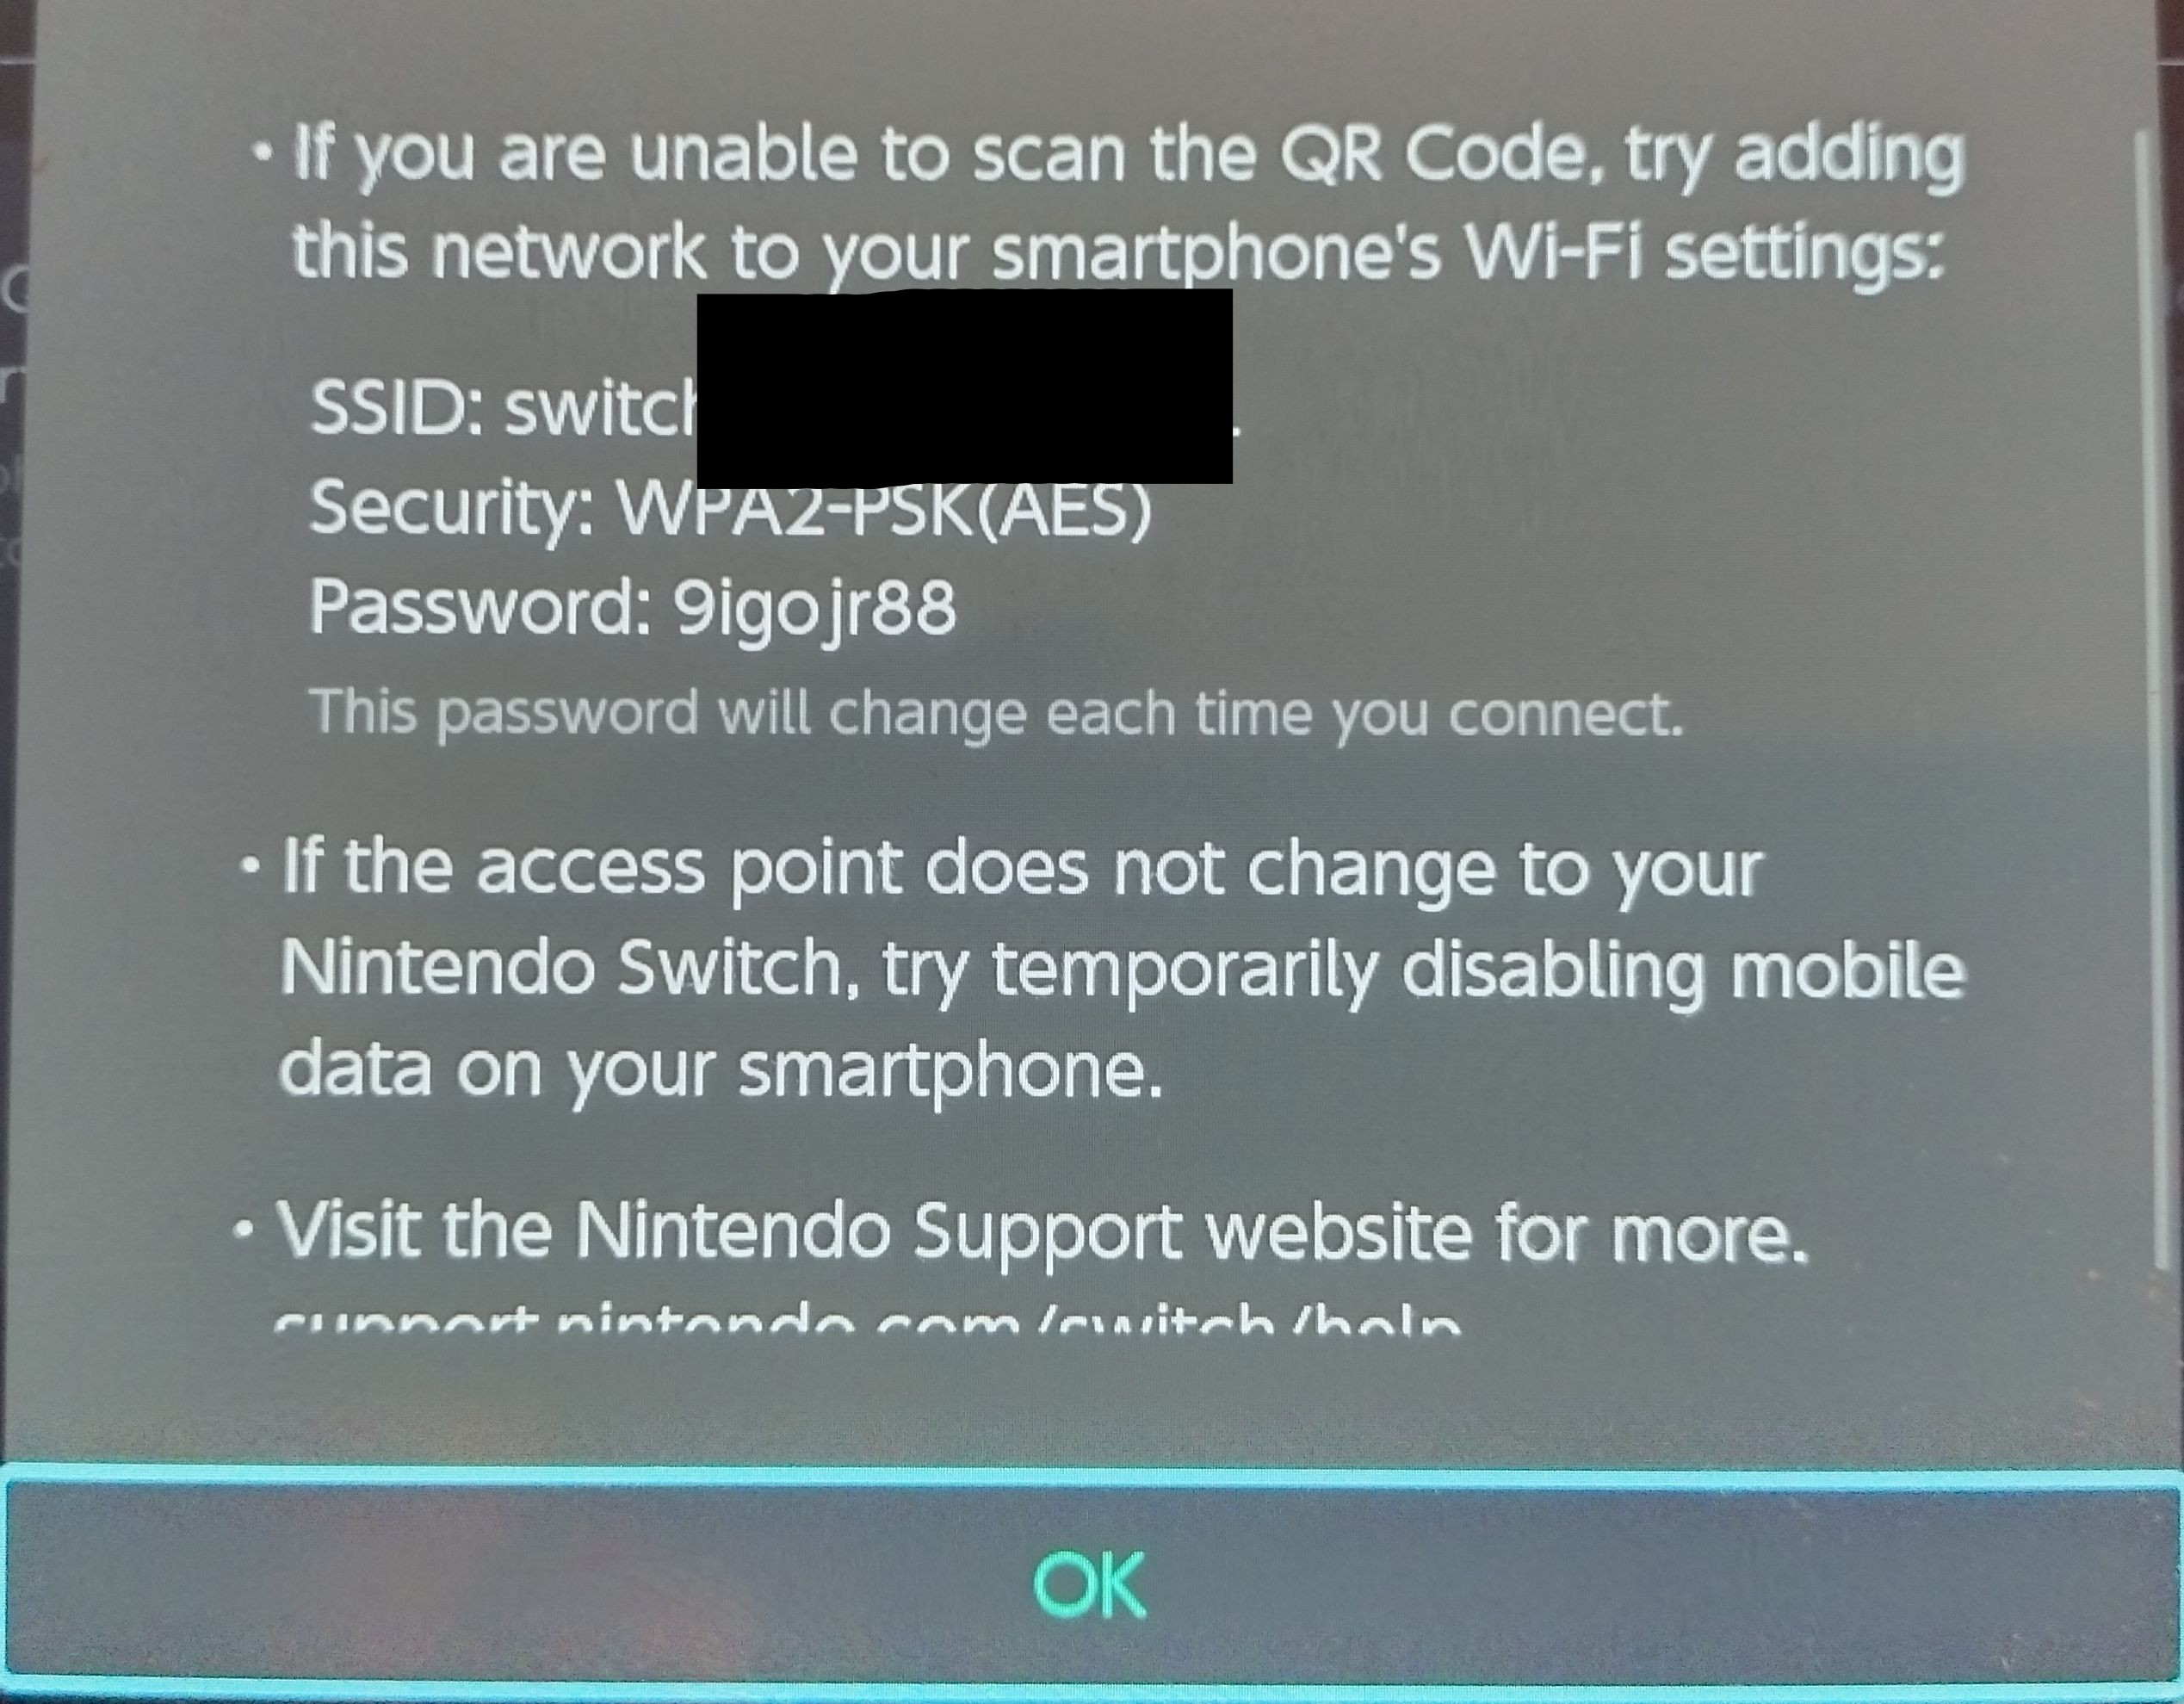
- If you can’t scan QR codes, press the “+” button or touch “Trouble connecting?” for the hotspot info and connect to it yourself. The password is random, but the SSID will always be the same.
- Your device does not have to be a phone. It can be anything with Wi-Fi and the ability to download images and videos, even a laptop or PC.
- Once you connect, the screen will change. Scan the new QR code. This one opens your web browser to the Switch’s web interface.
- Note: your device will not have internet access, so if it asks you if you want to stay connected to this Wi-Fi, click yes.
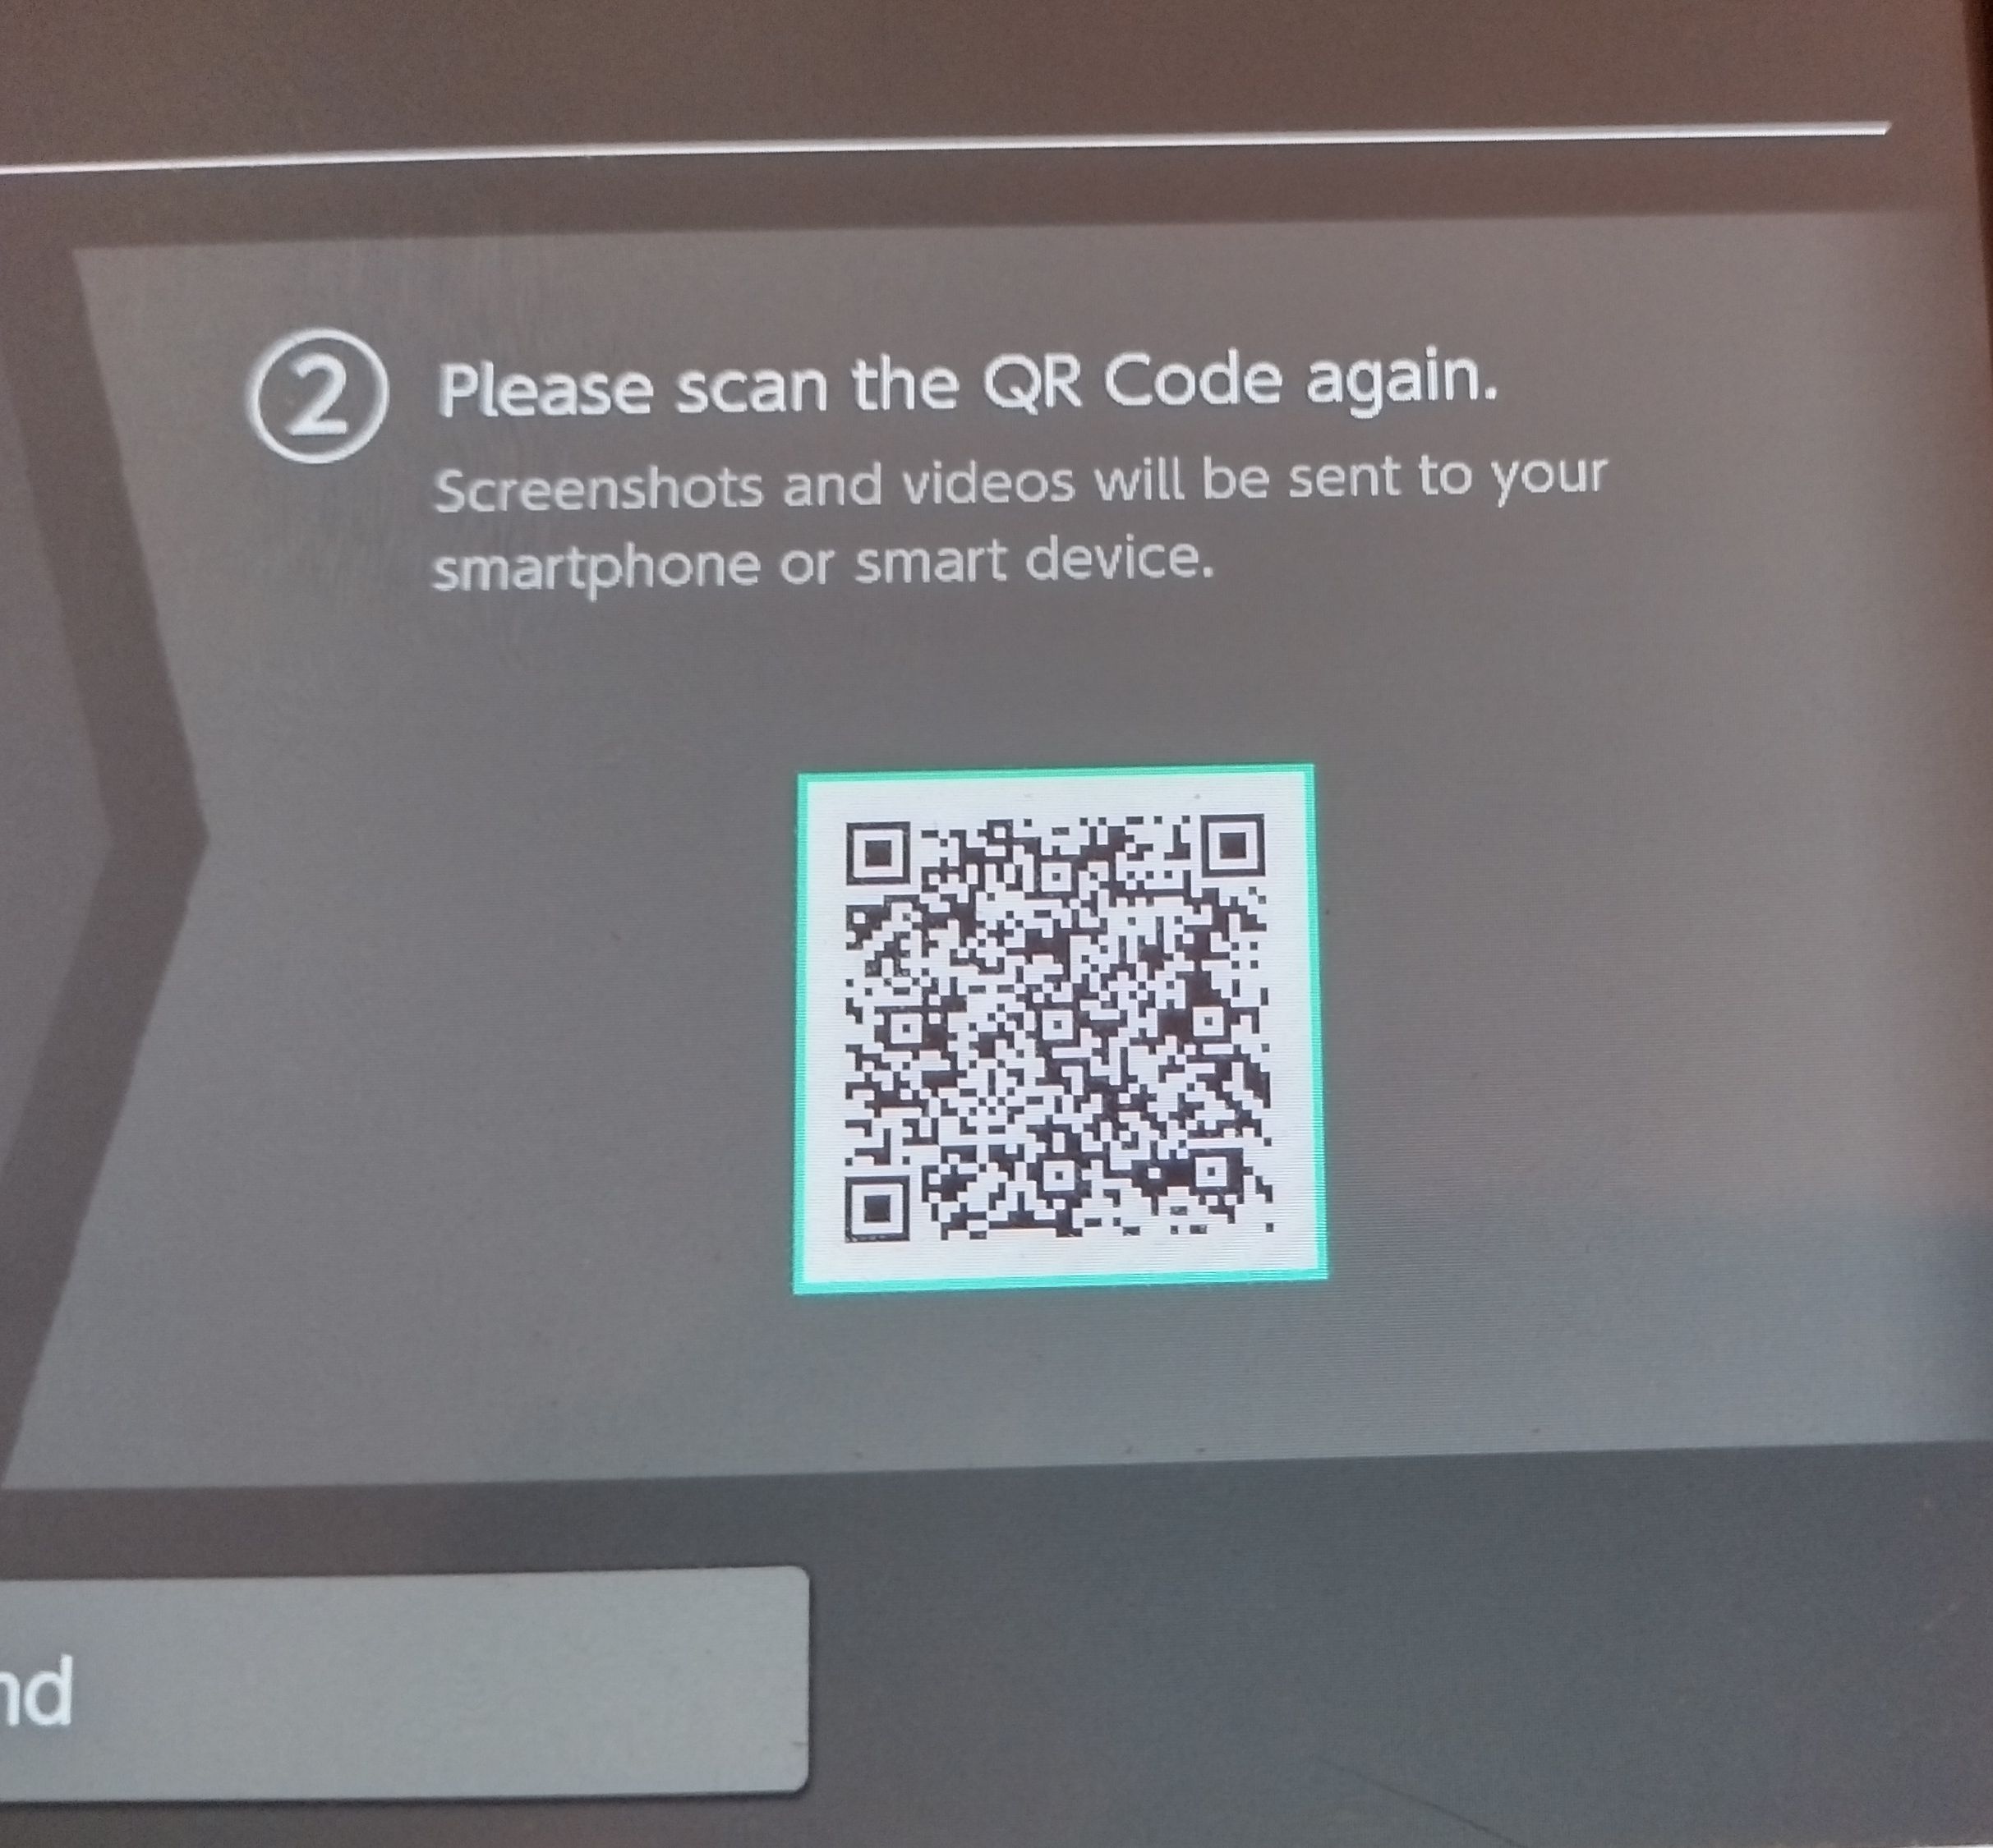
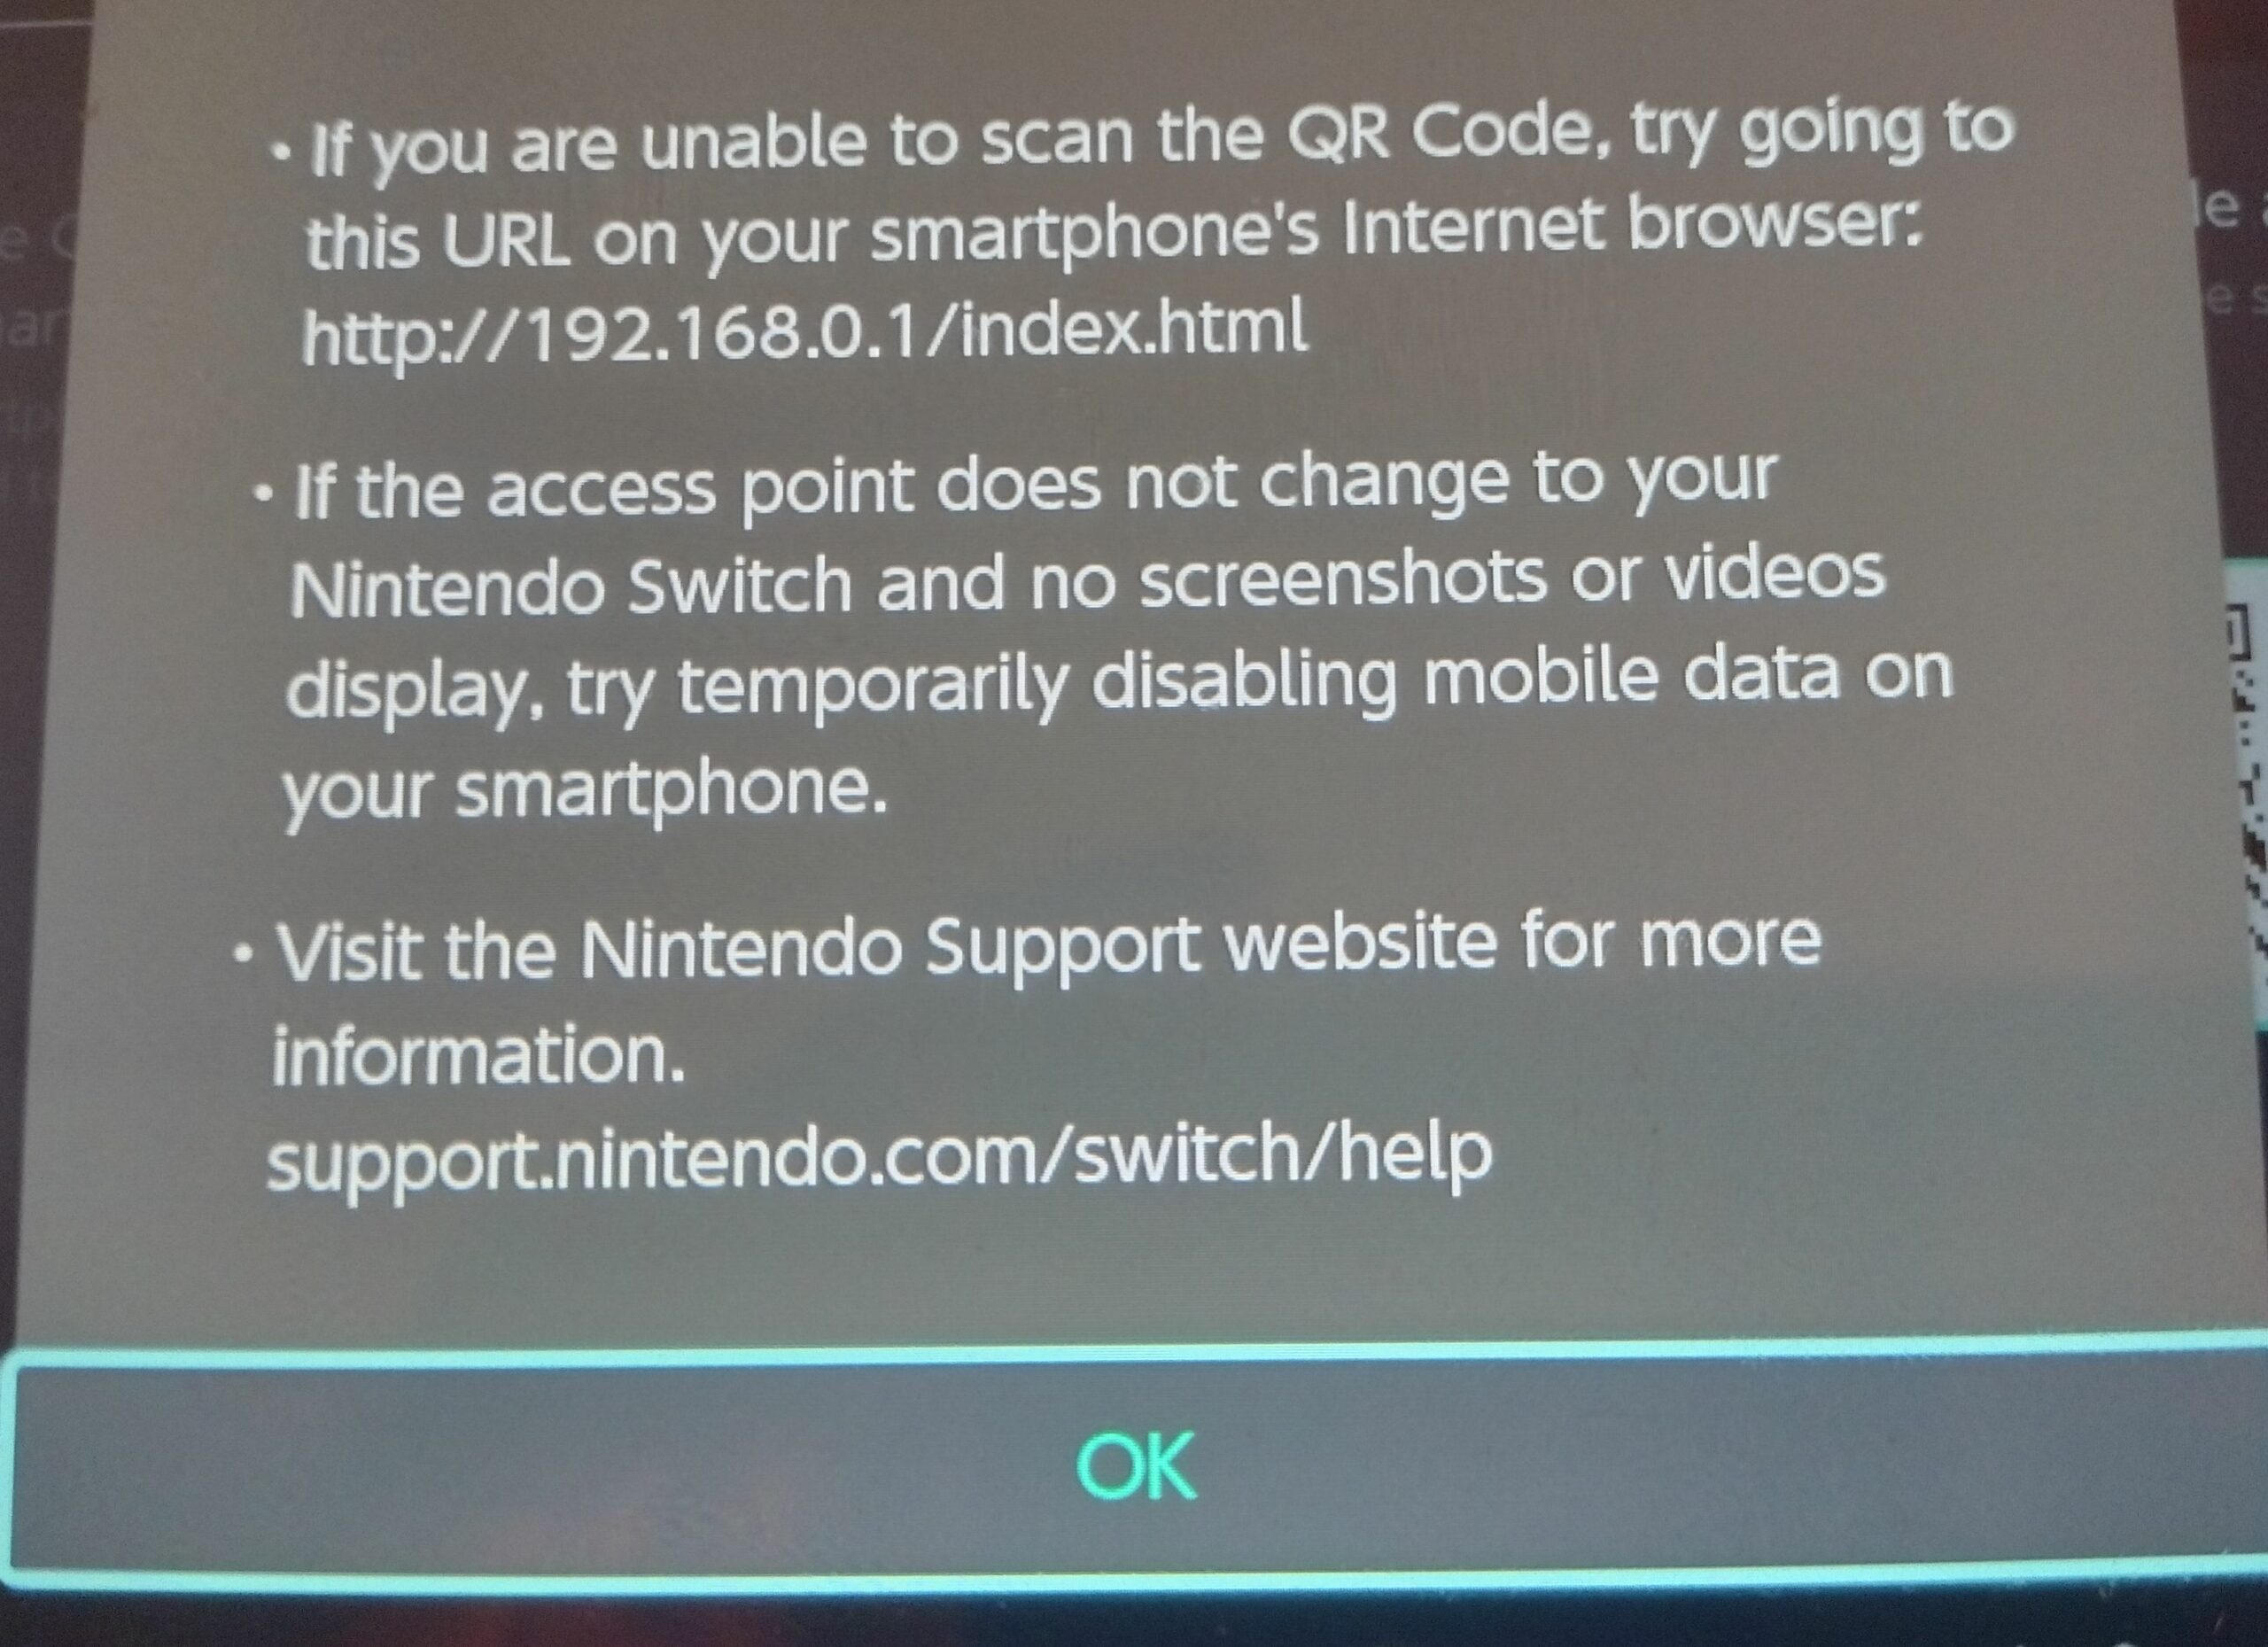
- If you can’t scan the QR code, press the “+” button or touch “Trouble connecting?”. This will tell you where to point your browser to. It’ll probably be “http://192.168.0.1/index.html” like in my screenshot below.
- The page contains linked thumbnails of your selected screenshots. Just download them.
- Go back to your Switch and press the Home or B button or touch “Back” or “End” to disconnect. Your device will switch back to the previous connection. If not, you know what to do.
- Ironically, I had to take the above screenshots with my phone because the Switch won’t allow you to screenshot system menus.

