
Last Updated on Jul 11, 2024
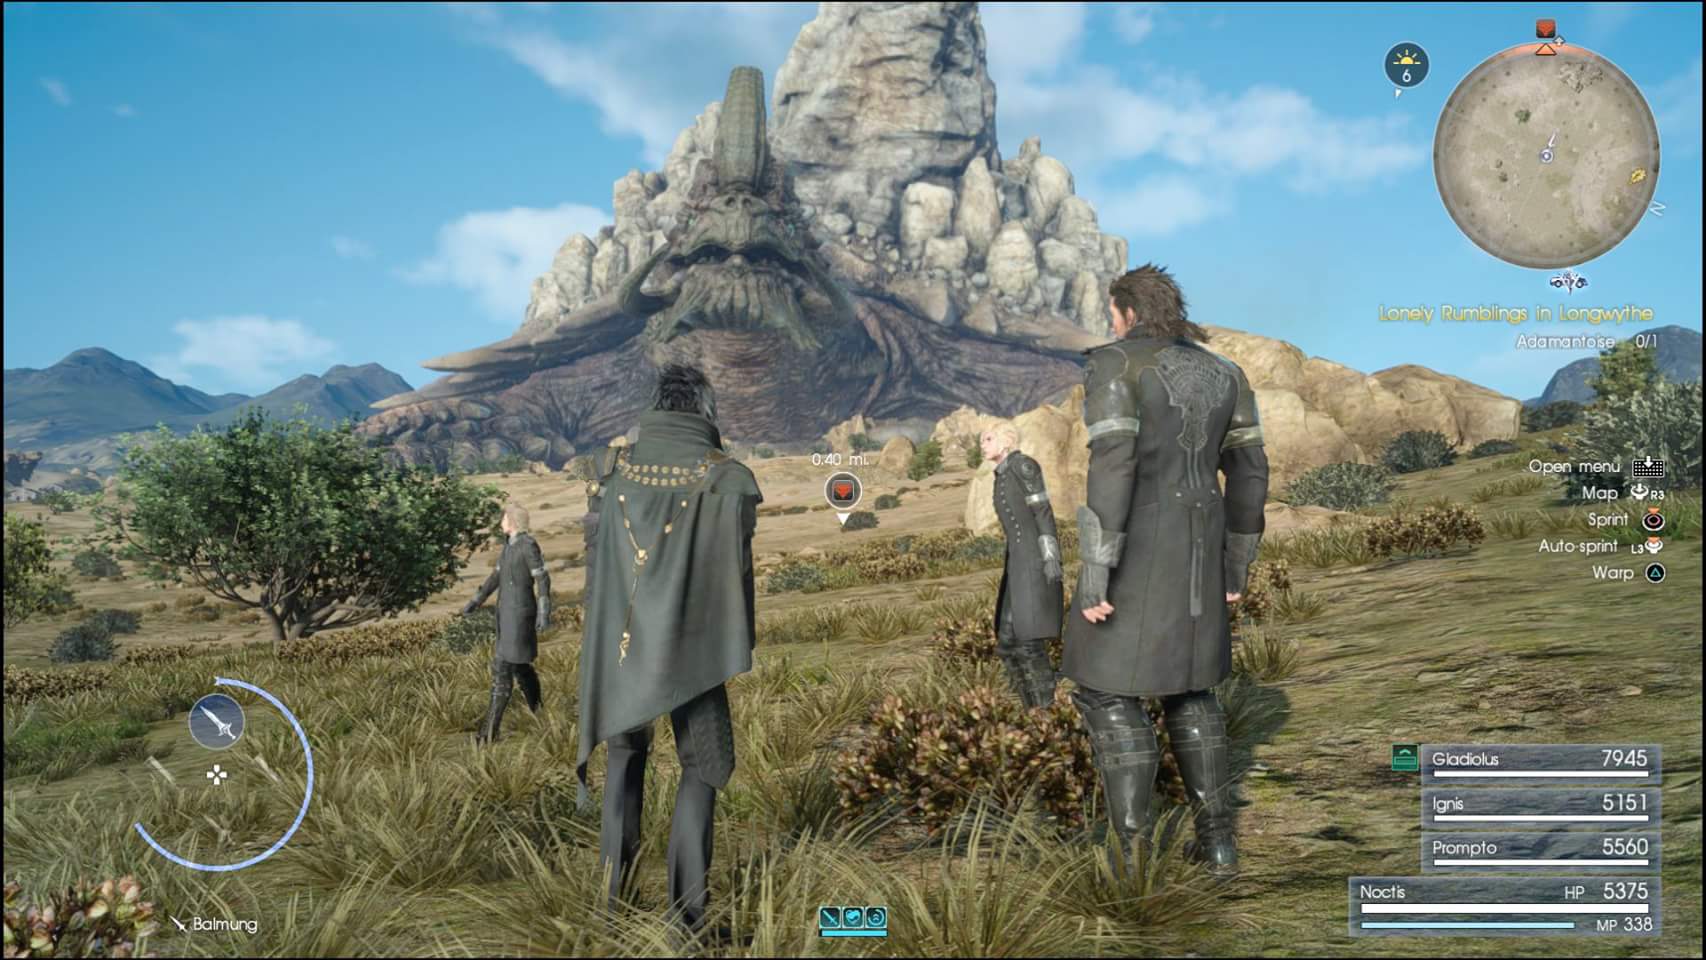
Final Fantasy XV is the latest in the long-running Squaresoft cash-cow. I’m going to share some insights:
Grind for AP:
- Prerequisites:
- Noctis must be allowed to drive during the day and night.
- Progress to at least Chapter 3 (much of the course is locked out prior to then and this is when Ignis finally lets Noctis drive during the day).
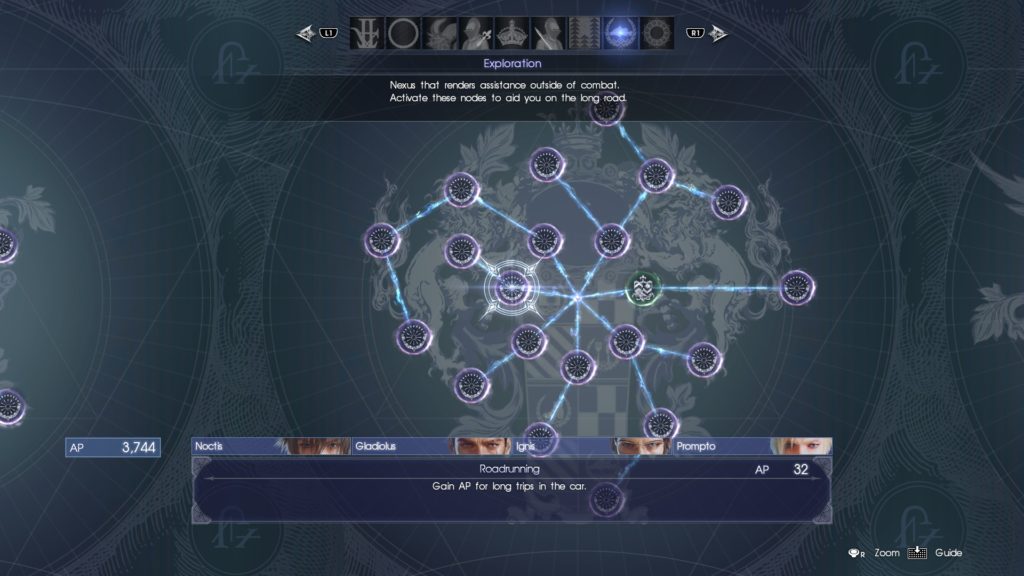
- The Ascension-Exploration/Roadrunning node must be activated (that’s what gives you AP while driving).
- The Regalia Type-F (beat the game and progress to Chapter 8) (optional, see notes).
- Sticky tape (but not the residue leaving kind).
- Drive to Lestallum and switch to Manual (Noctis drives).
- Start heading southwest and tape down the R2 button.
- You will drive in an endless circle gathering up AP along the way (the green circle in the figure below).
- Notes:
- If you have the Supercharger enabled, you will hit the guard rail where I put “CRASH” on the figure below every single time.
- You will occasionally hit other cars.
- If Prompto hasn’t asked you who he should take pictures of, he’ll ask once and not again until you rest; otherwise, you will never be bothered.
- You can use flying mode without taping down R2, but if you botch the landing, you get game over and lose all that precious AP.
- You can use the regular Regalia, but you’ll run out of gas a lot.

Best Food
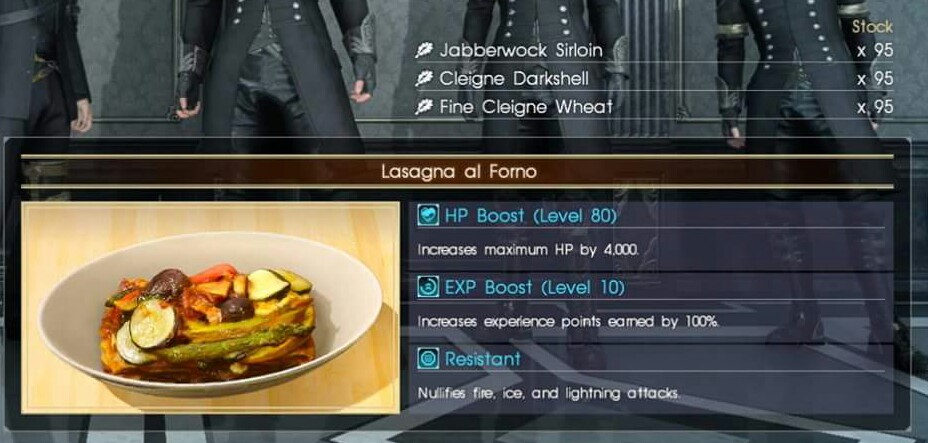
- Lasagna al Forno: HP+4000, Double EXP, and nullifies fire, ice, and lightning.
- Jabberwock Sirloin: Can be bought in Meldacio Hunter HQ. Drops from Jabberwock.
- Cleigne Darkshell: Can be bought in Cape Caem, Altissia, and the Regalia*.
- * After beating the game.
- Fine Cleigne Wheat: Can be bought in Lestallum, Old Lestallum, Cape Caem, and Altissia.
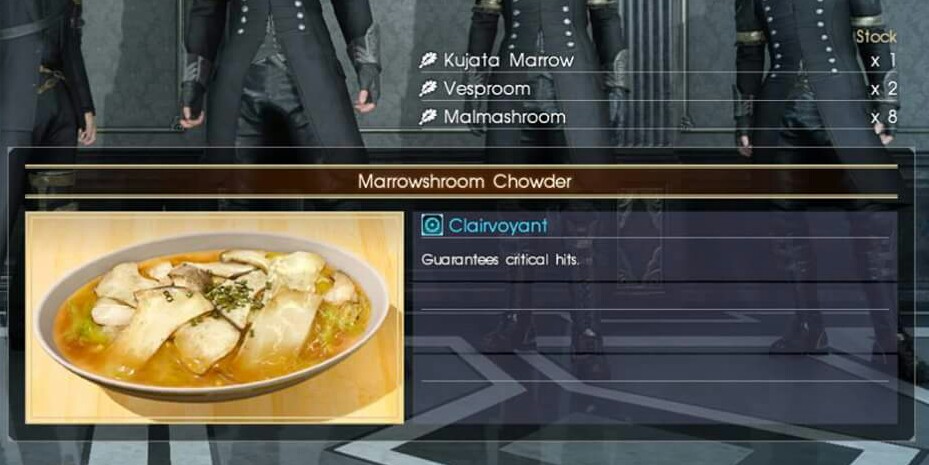
- Marrowshroom Clowder: Guarantees critical hits.
- Kujata Marrow: Can be bought in Lestallum. Drops from Molokujata.
- Vesproom: Can be bought in Lestallum. Can be found in the Vesperpool.
- Malmashroom: Can be bought in Lestallum and Old Lestallum. Can be found in Malmalam Thicket.
Tipster Locations:
- LEIDE: Hammerhead
- LEIDE: Galdin Quay
- LEIDE: Longwythe Rest Area
- DUSCAE: Wiz Chocobo Post
- DUSCAE: Coernix Station – Alstor
- DUSCAE: Taeplar Rest Area
- DUSCAE: Cauthas Rest Area
- DUSCAE: Lestallum (Market)
- DUSCAE: Lestallum (Thoroughfare)
- DUSCAE: Lestallum (Street) (has no hunts, but he sells food and will give you intel and your rewards from competed hunts)
- DUSCAE: Old Lestallum
- DUSCAE: Meldacio Hunter HQ
- DUSCAE: Veromas Mart (Ravatough)
- Altissia (Mahhgo)
- Cartanica and Tenebrae (same guy) (has no hunts, but sells food, has intel, and will grant hunt rewards)
Costlemark Tower
- Once you reach the room with four glowing blocks, you have to do all of them before the important southwest one unlocks. Meaning, you have to fight a hoard of monsters three times. When you do get to do the southwest block and you get to a point where you can choose an east wall or a south wall, pick the east one. The other way just leads back to the room with the hoard of monsters.
Notes:
- Each 24 hour cycle is roughly 48 minutes real-time.
- Time equal to the time that would have passed passes when using fast-travel, but no gas is used.
- Playing Justice Defenders 5 doesn’t stop the game clock.
- Your level is not capped at 99—it’s 120.
- There’s no breaking the HP limit.
- Even if Noctis’s HP falls to 0 while using Armiger, he will not get knocked out. Except when the Founder King’s Sigil is equipped (ie Armiger Unleashed is in effect).
- Pressing Triangle while driving activates the car horn.
- If you hear, “imperials above us” or “magitek engine, it’s close” and you don’t want to fight, find a tree to hide under and they’ll leave after a short time.
- The entrances to Steyliff Grove, Costlemark Tower, and Pitioss Ruins are only open at night.
- Paths. Look for paths. Almost everywhere you go will have at least a partial well-beaten path to follow.
- You can make Ignis miss turns and hit other cars by using the left stuck while he’s driving.
- The only things that damage the Regalia are enemies.
- You can officially get the big off-road Type-D Regalia at the beginning of Chapter 8. After you and “Hunter” (obviously Gladiolus) fight the demons in the power plant in Lestallum and your party is reunited. You can get the Type-F at the same time.
- You don’t need to be on the road to do Auto Drive or Call Car, you just need to be close enough and you can do Tow Car from anywhere except inside dungeons.
- About Tony in Cape Caem, the guy who trades your Caem carrots for stuff. His only useful item is the Ulwaat berries which you need for a quest in Galdin Quay and grant Healing Level 99, more casts, and more potency when used in Elemancy; however, there are other items which will grant the same (e.g. Treant Trunk). The random weapons he gives you are just slightly better versions of the crap ones you have already. The ones you find in the field or buy from vendors are superior.
- If you’re playing through just for the Manage Beneath Lucis post-game quests, there are a few things to note:
- You don’t have to do a single hunt or side quest except those involving the four dungeons listed below; the names of those quests are the same as the dungeon names.

- Get the quests from Ezma in Meldacio Hunter HQ near the Vesperpool, but she won’t give you anything unless you beat a few mini-bosses (see below).
- You have to beat the monsters that lurks within the following: Daurell Caverns, Balouve Mines, Crestholm Channels, and Costlemark Tower and you can do them as soon as you have access to their location (ie Crestholm is available as early as chapter 1).
- In addition to the above, you’ll have to go to Steyliff twice including the Menace dungeon itself. Steyliff because the story takes you there and the rest because of the monster that lurks within.
- As mentioned above, Costlemark and Steyliff are only open at night (7:00PM – 4:00AM).
- To get to the platform where the ladder and crawlspace leading to where the dungeon door is at the end of Daurell Caverns, you have to point-warp while in combat. I usually just point-warp up there and stay there while the other three fight the demons below then drop the ladder afterwards.
- Costlemark:
- The block puzzle is rather annoying, but you only have to do it once for each corner. In the fourth corner, remember that, when given a choice between two walls, choose the east one.
- You do have to fight the mob in the big room three times. More if you pick the wrong wall in the fourth corner.
- When returning for the Menace dungeon, you don’t have to do any puzzles again, you can just take the same elevator that brought you up from the big room.
- You cannot use items inside the menace dungeon.
- You don’t have to do a single hunt or side quest except those involving the four dungeons listed below; the names of those quests are the same as the dungeon names.